Are you thinking of attaching a wall-mounted light to your apartment? Want to use more light in your corridor? Are you having difficulties putting in an extra power outlet? Then just stay tuned.
Implementing a power connection to an outlet or another power source is so easy that you can do it without the help of an electrician in less than an hour. And if you think that you can do it by yourself; let me help you to understand how to tap into an existing wall switch.
Let’s get started..
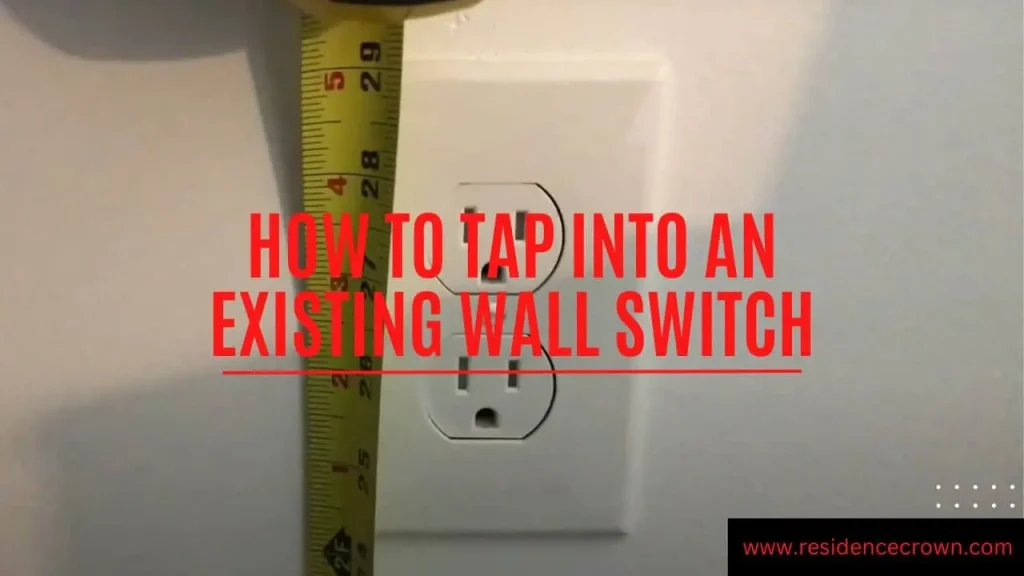
How to tap into an existing wall switch
You need to know about some necessary tools that are required for completing this term.
Necessary tools:
Junction box
Screwdriver
Box cutter
Switch loops
Electrical cable
Utility knife
Wire stripper
Wire nuts
Now, the following steps will help you to understand the process of tapping into an existing wall switch easily.
Step 1:
Put off the main power switch. Find a position for inserting the junction box. Estimate the box area to draw the box into the wall. After giving it a figure, you need to utilize the power box to find out whether it fits well into the wall.
Step 2:
Before talking about wiring, you have to extract the pieces from the junction box with the help of a screwdriver. Insert the cable into the junction box to the bottom. You have to be sure that this cable goes from the junction box to the other side before wiring the socket.
Step 3:
With the support of a box cutter, you have to cut the ceiling off to reveal the wire. Then you can manipulate the wire better. After that, you need a wire cutter to expose the wire under the black, white, and green wire.
You can also apply loops to combine the wire with the junction box. Then you have to unite black wire into the gold side, white coming on the silver side and green at the bottom.
Step 4:
Once you are done with the wired up, you have to screw up and transfer back to the central switch where the wire begins. The wire from the power socket unites the ground with the ground wire.
To loosen the wire nut, you have to connect the white cable with the existing two white wires. Wrap the new green wire with the existing two green cables to connect with the wire nut.
Step 5:
And black one is distinct from the others. skip 8-inch single coats of black cable from the stock. Remove 3/4-inch from every edge of this little part of the cable.
Then you have to cover the cable entirely with the revealed black wire with a box and attach it with a cable nut. After that, you need to discard the black cable that is expanding from the central switch to evade connection with the switch.
This wire has to be connected with two black wires connected to it with a cable nut. And it is the switch that power arrives in from the box and extra switching power conforming to the light, ceiling fan switches.
Step 6:
Transfer the switch and the revealed wiring following into the box, and attach all the screws to ensure the switch is in place. Relocate the switch case and the two binding screws.
Step 7:
Finally, switch on the electrical power switch and examine the switch and power to the light and fan.
Verdict:
To bring some changes to your house by adding some extra lights and fans, you can do it simply by yourself following these steps. But you have to be careful about not tapping the switch without switching off the power at the main switch. I hope you have a clear concept now on how to tap into an existing wall switch. And all these will help you to solve your problem.